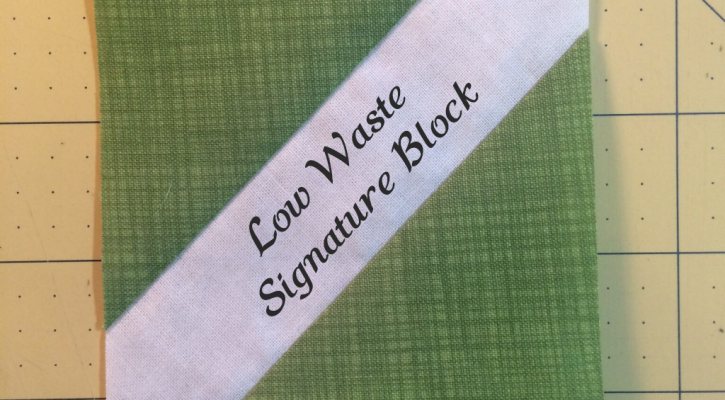
Low Waste Signature Block
August 7, 2015
I wanted to make a signature block for my Game of Quilts challenge entry (spoilers!!!). I was limited to using the fat quarters provided, so I didn’t have heaps of fabric. I found some other tutorials for signature blocks, but they used the snowball corner method, which wastes a lot of fabric.
I decided to come do strip pieced blocks to use the minimum amount of fabric. The final blocks are trimmed to the perfect size.
What you’ll need
- 1 1/2″ strips of light colour fabric for the centre signature stripe
- Squares of the background fabric(s) the size of your unfinished block – the number needed for the desired layout, plus a couple of extras for signing mistakes
We’ll be working with bias edges, so I recommend using starch or Best Press on the fabric before cutting.
Method
Step 1:
I cut my background fabric squares at 3 1/2″ – the size of my final unsewn (unfinished) blocks.
Slice the squares diagonally. Stack up the two sides of triangles in equal piles – they don’t need to be kept in order.
Step 2:
Take your stacks and strips to your sewing machine.
Start sewing one strip of the light colour fabric right side up. About an inch from the end, put a triangle with the long diagonal edge along the strip with right sides together. Sew through the triangle, and add another about two inches down the strip.
You’re sewing along the bias edge of the triangle, so be careful not to stretch it. Lower your presser foot pressure or use even feed if your sewing machine has it.
Keep adding in triangles until you reach the end of the strip. Once you know how many triangles you can fit on a strip, you can figure out the total strips required and cut more.
Add another strip and continue to sew triangles until you reach the end of one of your stacks.
Step 3:
Cut apart your strips and take them to your ironing board. Carefully press them towards the background fabric.
Step 4:
Go back to the sewing machine. Start sewing at the end of one of your strips. Put a triangle on the edge of the strip, aligning the points with the triangle opposite. It doesn’t have to be exact, just eyeball it. Sew the triangle to the strip.
Repeat adding triangles and strips until you reach the end of your stack and strips.
Step 5:
Cut the strips apart. Go back to your ironing board and press the triangles towards the background fabric. Now is the time to give them some more starch or Best Press to get those mofos flat.
Step 6:
Take your strips to the cutting board. Using a square ruler, align the diagonal through the middle of the light colour strip. Use the markings on your ruler to align evenly – I used a dot of Sharpie to mark where I needed to align to the seam to be centred.
Cut the two edges of the block.
It’s easiest to do the first side of each block on a strip at one time.
Step 7:
Flip your blocks around and trim from the other side to the final unsewn size. In my case 3 1/2″. Use your ruler markings to keep the strip aligned in the centre.
And there you go!
And the only waste are these little flappy things that look like you decapitated one of those inflatable advertising guys.
If people are actually signing the blocks, iron them onto the waxy side of freezer paper to better stabilise them. I’m a fan of the Micron fine point marking pen for fabric.
You could hand embroider over the signatures, or machine embroider the text straight onto the block.
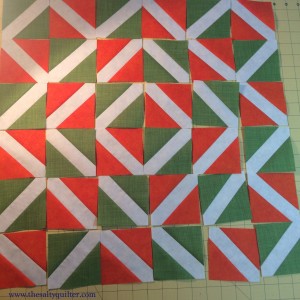
There are a bunch of ways you could layout your blocks. I have two background colours for mine.
And that’s it. Please tell me how I did on my first tutorial and let me know if you make any signature blocks.


Your tutorial seems quite clear to me, though I’m not sewing along. I like the small amount of waste.
Pingback: Spoiler Alert! A Game of Thrones Memorial Quilt | The Salty Quilter
Pingback: Lightsaber Legacy – Star Wars Quilt | The Salty Quilter