Tag: Sewing Machines

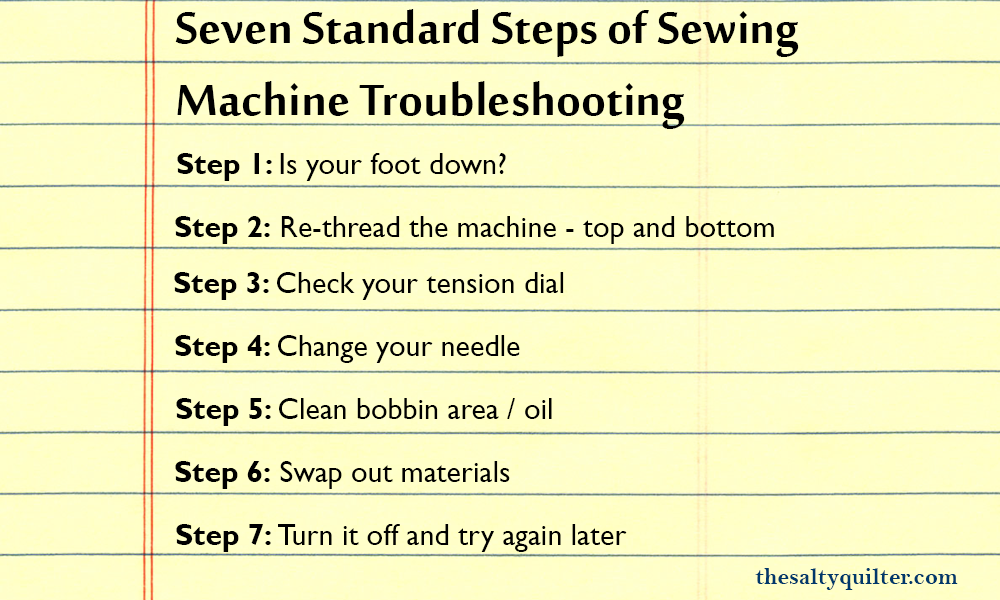
Seven Standard Steps For Sewing Machine Troubleshooting
August 5, 2015
I’m a member of several wonderful Facebook groups for quilters and sewists/sewers, whatever buzzword you want to use. Almost every day I see a post from someone asking for help for a misbehaving sewing machine. Unless they mention it, I never know what they’ve actually tried – so what I suggest may not be applicable.
Like all machines, there are standard troubleshooting steps you can take to resolve issues.
I wanted a reference so I could ask: “have you tried the standard steps?” so I decided to create one.
Step 1: Is your foot down?
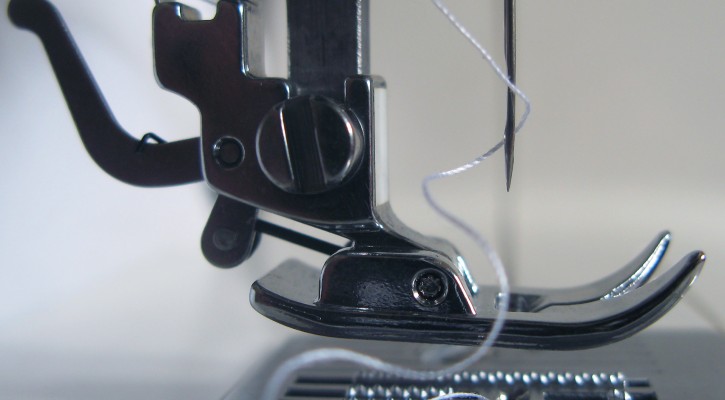
I know, this is ridiculous, but how many times have you started sewing, only to realise you didn’t put your foot wasn’t down and now you have a birds nest on the back? Many computerised machines will give you a beep to remind you, thank the sewing gods.
Step 2: Re-thread the machine – top and bottom.
Just do it, seriously. It’s one of those things. The bobbin thread didn’t get put in perfectly. The top thread is slightly off in the tension disks. Do it.
And don’t forget to check the bobbin itself. Is it feeding in the right direction? Is it wound nicely?
Step 3: Check your tension dial.
Did your tension dial get knocked out of its regular setting? Were you doing another stitch like a zig zag and forgot to change the tension back?
Step 4: Change your needle.
You know how to change your needle right? You aren’t using the one that originally came with your machine?
Many manufacturers recommend changing your need after eight hours of sewing. Who keeps track? I will usually change before starting a new piecing project or quilting – but this can vary based on the size of your project. When the needle is making a “thwack thwack thwack” noise, it’s time.
Sometimes needles get bent or tweaked and you may not be able to see it. Sometimes they’re bad straight out of the package. Change it and see.
You also need to be using the right type of needle and size. SewMamaSew has a nice guide to the various types and sizes of needles. Changing to a larger needle can often resolve skipped stitches. Changing to a different type can better accommodate different types of thread or fabric.
My personal favourite is a Schmetz size 80/12 sharp/microtex for both piecing and quilting with 50 weight Gutterman/Rasant thread.
Step 5: Clean out the bobbin area and oil the machine if it’s been awhile.
Get out your manual. Figure out how to get your faceplate off (assuming a top loading bobbin) and remove the bobbin race. Give it a good clean with a small paintbrush, pipe cleaner, or cotton swab to get out the fuzz. If you have a mini vacuum attachment, use that. I’m not a fan of compressed air as I think it blows crap down into your machine, but you can give it a little blow with your mouth to loosen things up if necessary. Make sure you do this fairly regularly if you’re sewing a lot, particularly after working with anything fuzzy.
Have you oiled your machine lately? Like in the last six months? Give that a go. Check your manual for details and recommended frequency.
Step 6: Try changing out the fabric/thread/batting/interfacing/fusible to see if the issue remains.
Sewing machines can be quirky. Sometimes they just don’t like a particular medium they have to sew through. If you’re using something different than usual, swap it out to see if the issue resolves. If it does, can you use an alternative solution?
Go through in a scientific manner – change out one thing at a time to track down the offending material.
I tried and tried to get my Janome MC6600P to use The Bottom Line thread in the top of the machine. Every few inches it would throw a loop in the top. I tried everything – even the expensive Titanium needles recommended. Nope, it just didn’t like that thread (although it works fine in the bobbin).
Step 7: Turn your machine off, have a break and a beverage.
THIS STEP CAN BE PERFORMED AT ANY TIME!!! REPEAT AS NECESSARY!
Sometimes you and your machine need a break. When frustration is mounting, that’s the time. Come back to it later. The issue may resolve itself. Fingers crossed!
No good? Now what?
If you’ve done those steps and you still can’t figure out a resolution, that’s the time to ask for help. You also should probably consider a visit to your sewing machine mechanic or a general service if it’s overdue.


